
Tech Tip: How to create animated buttons in 4D
PRODUCT: 4D | VERSION: 11.4 | PLATFORM: Mac & Win
Published On: October 15, 2009
Creating animated buttons with 4D is a fairly simple process. Say we have two separate pictures, which we want to use in our picture button.
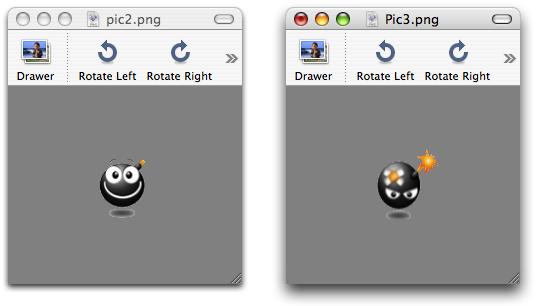
Both images have transperent backgrounds and their sizes are the same. This is important when 4D splits the picture into frames.
Both images have transperent backgrounds and their sizes are the same. This is important when 4D splits the picture into frames.
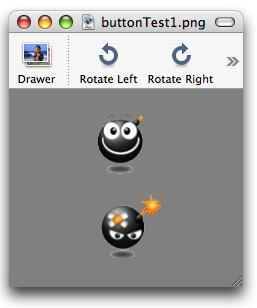
- We need to combine both pictures into one. This can be done in an image manipulation program.
- Drag and Drop the picture into 4D Picture Library (Tool Box, Pictures theme). The Picture properties dialog is displayed:
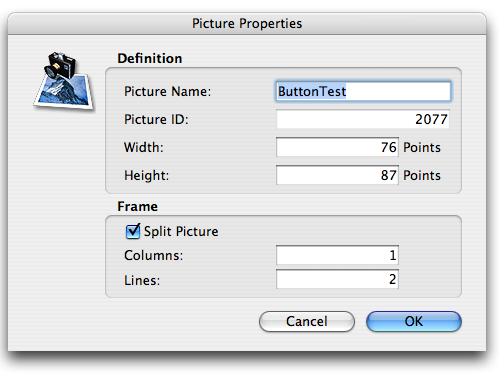
This dialog window allows users to customize the picture properties. In the lower half of this dialog window in the "Frame" theme, users can specify how 4D needs to split the picture into frames. For our example, we are creating a double stage animation, that is why we specify one column and two lines. - After step two our picture will be inserted into the Picture Library:
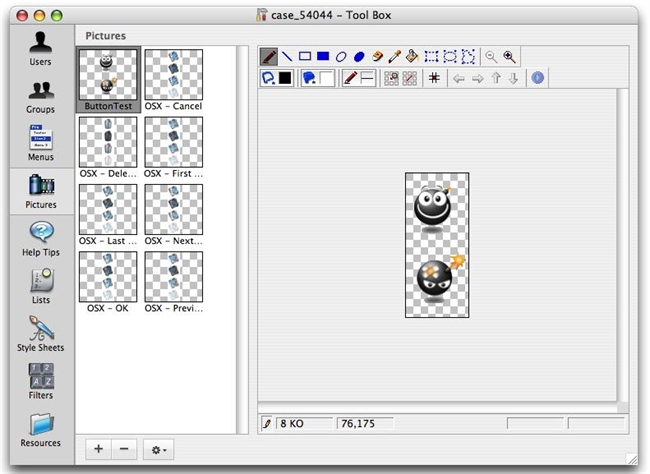
On the right hand side is the preview area where users can modify their pictures. - Open the form where the animated button will be and create a picture button.
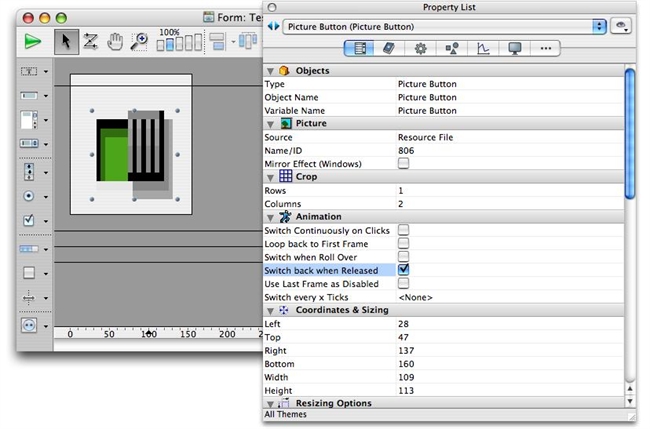
Set the Animation properties to Loop back to the First Frame. In this way the picture will change with every user click. - Drag the picture from the Picture Library and drop it onto the picture button.
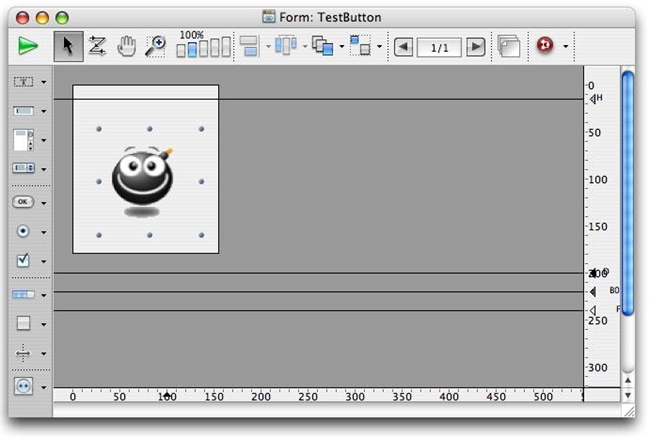
After this step our animation button is ready.