
Tech Tip: Create custom size images with Transparency
PRODUCT: 4D | VERSION: 14.0 | PLATFORM: Mac & Win
Published On: November 5, 2014
New to 4D v14 R3 is the ability to add a transparency mask is applied to the picture based on the color passed. Not so new to 4D are Picture Operators that enable some great manipualtion of images.
This Tech Tip with demonstrate how to use these capabiilities to create a custom size icon with a transparent background from an image stored in the 4D Resources folder.
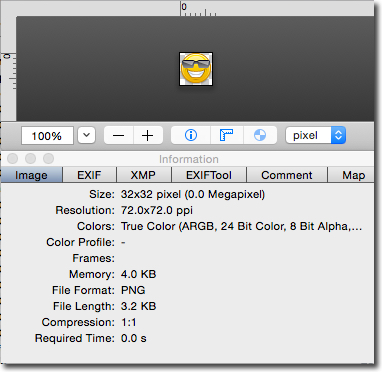
The technique used in this Tech Tip starts with the 32 x 32 icon shown below.
Also in the Resources folder is an PNG file that contains a 1 x 1 pixel white image. This image will be used to make the custom size transparent background for the icon.
There are two small utilities that are used to create the custom background. The first PicUtil_WhiteToTransparent uses the comand TRANSFORM PICTURE to add the transparency mask to the single white pixel in the image. Though done first here, if could have also been done last after the full size backgound picture had been constructed.
The next utility creates the custom size backgound picture.
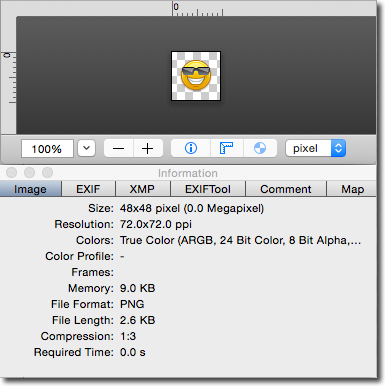
The code below puts it all together to produce the final image shown a the bottom.
The significant task in this code, which could also be converted to a utility method, are the lines that center the icon picture inside the background picture.
This picture is now ready for use in 4D or on a web page.
This Tech Tip with demonstrate how to use these capabiilities to create a custom size icon with a transparent background from an image stored in the 4D Resources folder.
The technique used in this Tech Tip starts with the 32 x 32 icon shown below.
Also in the Resources folder is an PNG file that contains a 1 x 1 pixel white image. This image will be used to make the custom size transparent background for the icon.
There are two small utilities that are used to create the custom background. The first PicUtil_WhiteToTransparent uses the comand TRANSFORM PICTURE to add the transparency mask to the single white pixel in the image. Though done first here, if could have also been done last after the full size backgound picture had been constructed.
| C_POINTER($Pic_P;$1) $Pic_P:=$1 TRANSFORM PICTURE($Pic_P->;Transparency;0x00FFFFFF) //0x00FFFFFF is white |
The next utility creates the custom size backgound picture.
C_PICTURE($0;$Bkgnd_G) C_PICTURE($Img_G;$1) C_LONGINT($Width_L;$2) C_LONGINT($Height_L;$3) //====================== Initialize and Setup ================================ $Img_G:=$1 $Width_L:=$2 $Height_L:=$3 //======================== Method Actions ================================== // Create the background image // Use the "*+" Picture Operator the make background desired width // $Bkgnd_G:=$Img_G*+$Width_L // Use the "*/" Picture Operator the make background desired height // $Bkgnd_G:=$Bkgnd_G*/$Height_L //======================== Clean up and Exit ================================= $0:=$Bkgnd_G |
The code below puts it all together to produce the final image shown a the bottom.
The significant task in this code, which could also be converted to a utility method, are the lines that center the icon picture inside the background picture.
| C_LONGINT($Ndx;$ImgW_L;$ImgH_L;$Width_L;$Height_L) C_PICTURE($Sprite_G;$Pic_G;$Row_G;$Btn_G;$HPad_G;$VPad_G;$Icon_G;$Backgnd_G) $ImgW_L:=48 $ImgH_L:=48 READ PICTURE FILE(Get 4D folder(Current resources folder)+"Images"+\ Folder separator+"emotion_cool.png";$Icon_G) PICTURE PROPERTIES($Icon_G;$Width_L;$Height_L) READ PICTURE FILE(Get 4D folder(Current resources folder)+\ "Images"+Folder separator+"onePxWhite.png";$Pic_G) PicUtil_WhiteToTransparent (->$Pic_G) $Backgnd_G:=PicUtil_CreateTransBkgnd ($Pic_G;$ImgW_L;$ImgH_L) // Center the icon on the new background // // Get the width difference and divide by 2 // $Ndx:=($ImgW_L-$Width_L)/2 $HPad_G:=($Pic_G*+$Ndx) // Get the height difference and divide by 2 // $Ndx:=($ImgH_L-$Height_L)/2 $VPad_G:=($Pic_G*/$Ndx) // Pad the left side of the Icon $Icon_G:=$HPad_G+$Icon_G // Pad the top of the Icon $Icon_G:=$VPad_G/$Icon_G // Pad the top of the Icon $Sprite_G:=$Backgnd_G & $Icon_G WRITE PICTURE FILE(Get 4D folder(HTML Root folder)+\ "Images"+Folder separator+\ "Cool.png";$Sprite_G;".png") |
This picture is now ready for use in 4D or on a web page.