
Tech Tip: Inserting Icons in the listbox header
PRODUCT: 4D | VERSION: 15.1 | PLATFORM: Mac & Win
Published On: April 13, 2016
Headers in listboxes can have icons inserted in them.
There are two main ways to do this. The first is using a picture in the picture library. The next is to use a picture variable.
Picture Library:
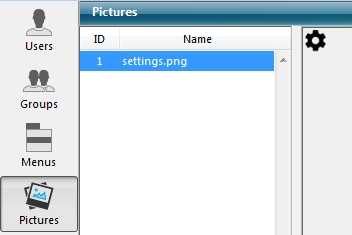
First add picture into library by selecting Toolbox->Pictures. Take note of what the Name/ID is.
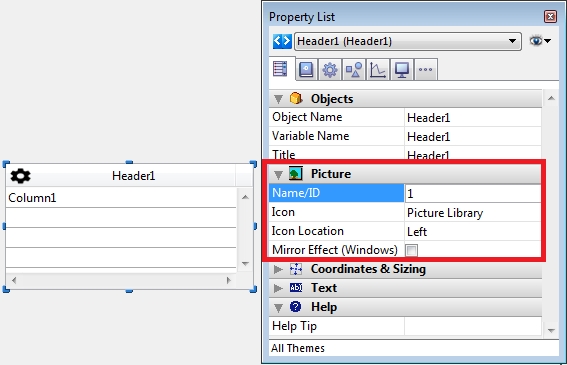
In listbox header, open property list.
In Name/ID property either type in the id, or the picture name.
In the Icon property, select “Picture Library” in the drop down.
Picture Variable:
Select the desired header and open the properties list.
In the Name/ID property, add a variable (e.g. vPic).
In Icon property, select “Variable” in the drop down.

vPic is now assigned to be the icon. Simply set the variable vPic to a picture
e.g in form on load method:
There are two main ways to do this. The first is using a picture in the picture library. The next is to use a picture variable.
Picture Library:
First add picture into library by selecting Toolbox->Pictures. Take note of what the Name/ID is.
In listbox header, open property list.
In Name/ID property either type in the id, or the picture name.
In the Icon property, select “Picture Library” in the drop down.
Picture Variable:
Select the desired header and open the properties list.
In the Name/ID property, add a variable (e.g. vPic).
In Icon property, select “Variable” in the drop down.
vPic is now assigned to be the icon. Simply set the variable vPic to a picture
e.g in form on load method:
| Case of : (Form event=On Load) C_PICTURE(vPic) $path:=Get 4D folder(Database folder)+"settings.png" READ PICTURE FILE($path;vPic) End case |
Commented by Manuel PIQUET on April 14, 2016 at 7:42 AM
Yes but how to do that by programming ? If I want to add new column by programming...