
Tech Tip: Replacing the nth image in a 4D Write Pro document
PRODUCT: 4D | VERSION: 17 | PLATFORM: Mac & Win
Published On: October 30, 2019
In order to replace images in 4D Write Pro, you must first get a collection of all images in the document, select the image within that collection, and insert a new image at that range. The example code is shown below that will replace the 2nd image in a 4D Write Pro document.
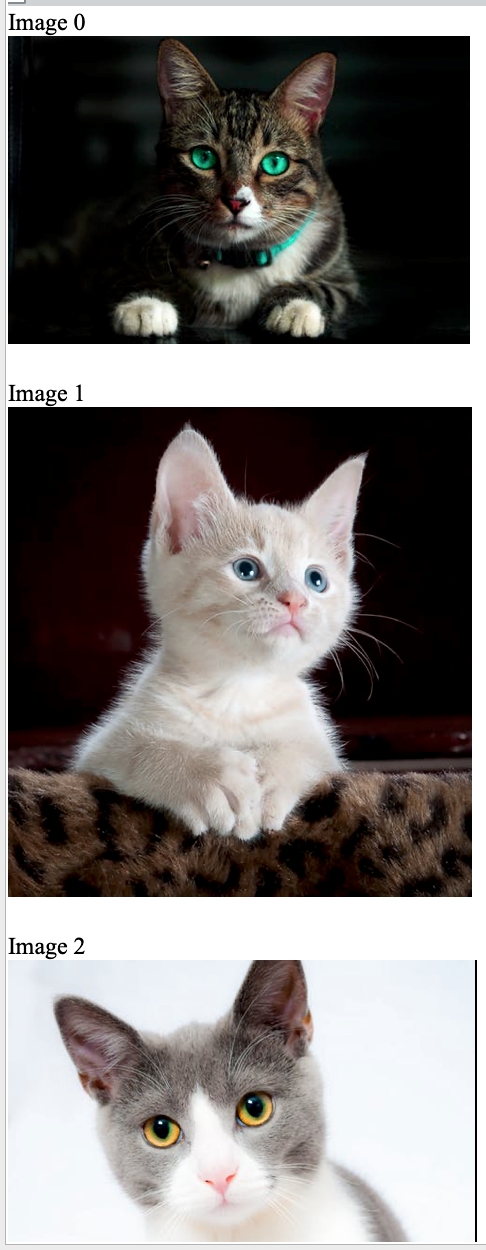
In this example, there are 3 images in this document where the 2nd image will be replaced with a new image. The trick here is when the newly inserted image needs to have its attributes changed, the elements collection must be reupdated to assure the new image is in that collection. In this case, the newly inserted images size is resized immediately after being inserted.
Before insertion:
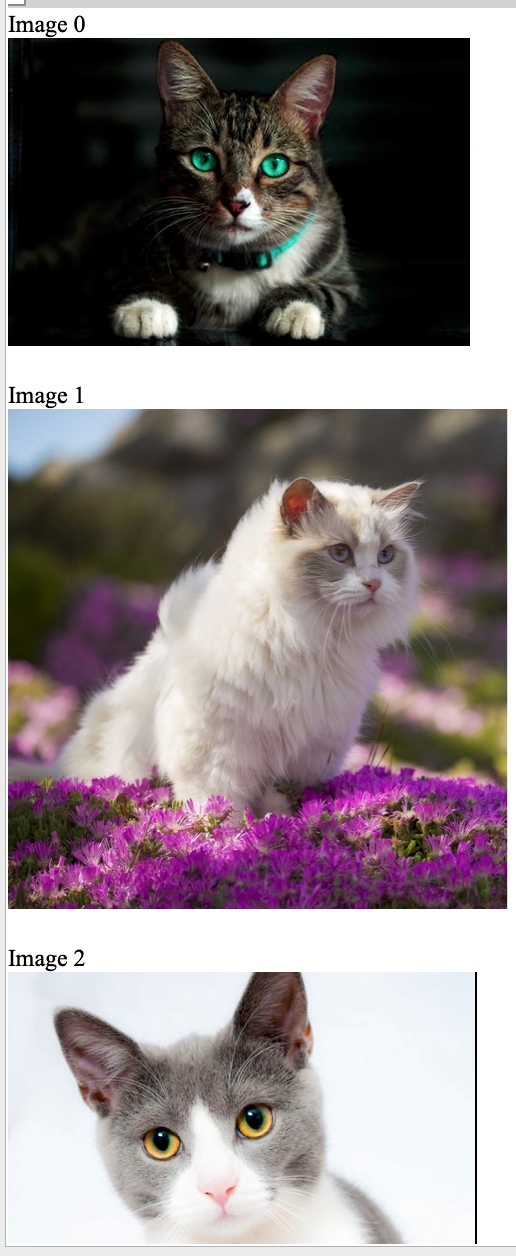
After insertion:
| C_LONGINT($imgNum_l) C_OBJECT($range_o;$cat_e) C_COLLECTION($elements_c) // Select entire document and find all image elements $range_o:=WP Get body(WPArea) $elements_c:=WP Get elements($range_o;wk type image) // Replace 2nd image $imgNum_l:=1 $cat_e:=ds.Cat.all().first() // If the image is not out of range of the collection If ($imgNum_l<$elements_c.length) // Insert new picture WP SELECT(WPArea;$elements_c[$imgNum_l]) $range_o:=WP Selection range(WPArea) WP INSERT PICTURE($range_o;$cat_e.img;wk replace) // Resize the newly inserted picture $range_o:=WP Get body(WPArea) $elements_c:=WP Get elements($range_o;wk type image) WP SET ATTRIBUTES($elements_c[$imgNum_l];wk height;"250pt") // Deselect the document WP SELECT(WPArea;0;0) End if |
In this example, there are 3 images in this document where the 2nd image will be replaced with a new image. The trick here is when the newly inserted image needs to have its attributes changed, the elements collection must be reupdated to assure the new image is in that collection. In this case, the newly inserted images size is resized immediately after being inserted.
Before insertion:
After insertion: